
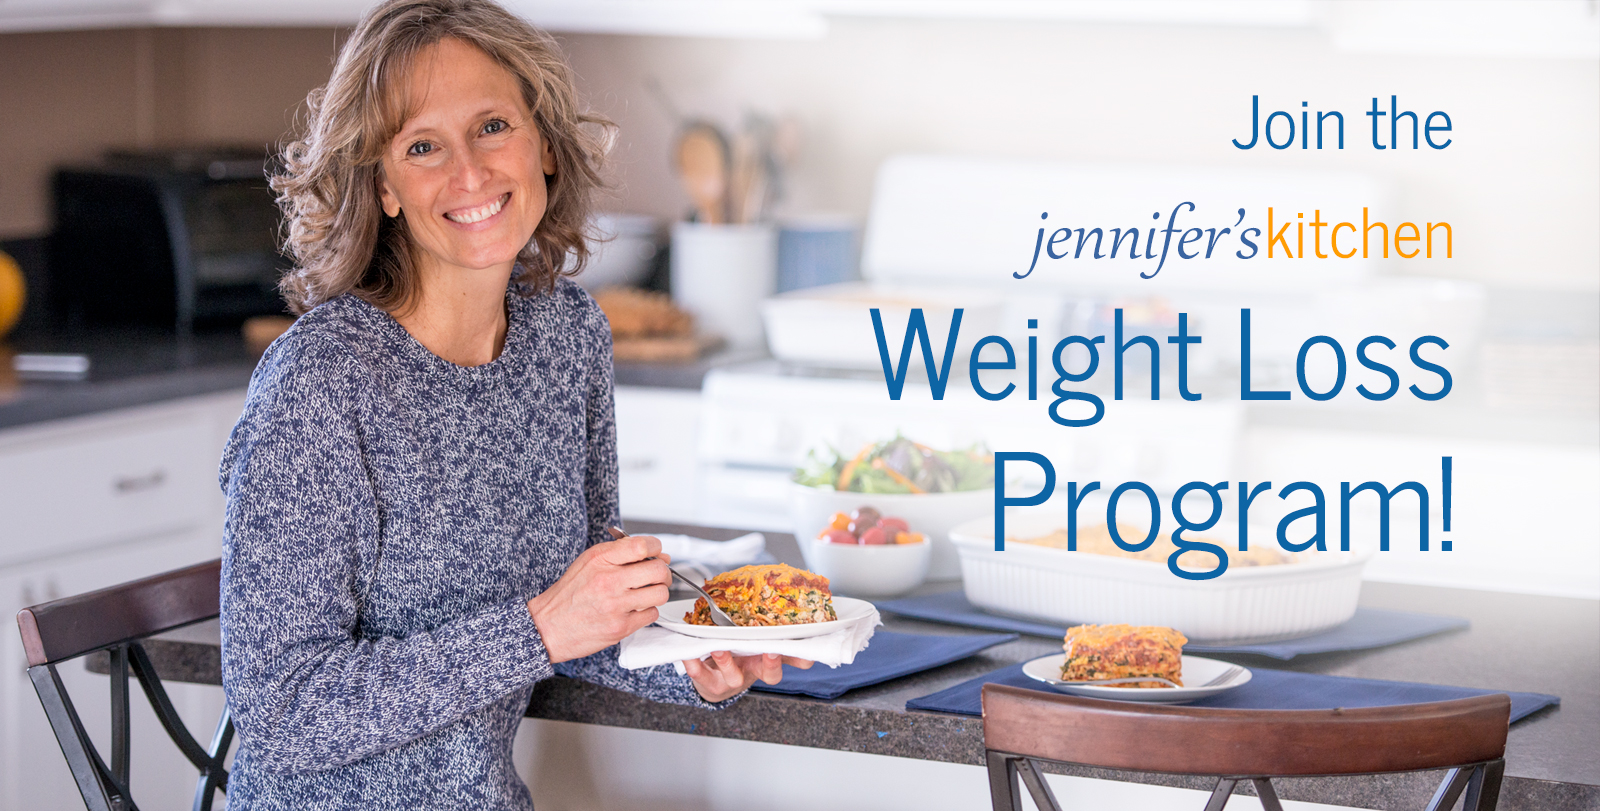
Already a member? Login
Recent Recipes
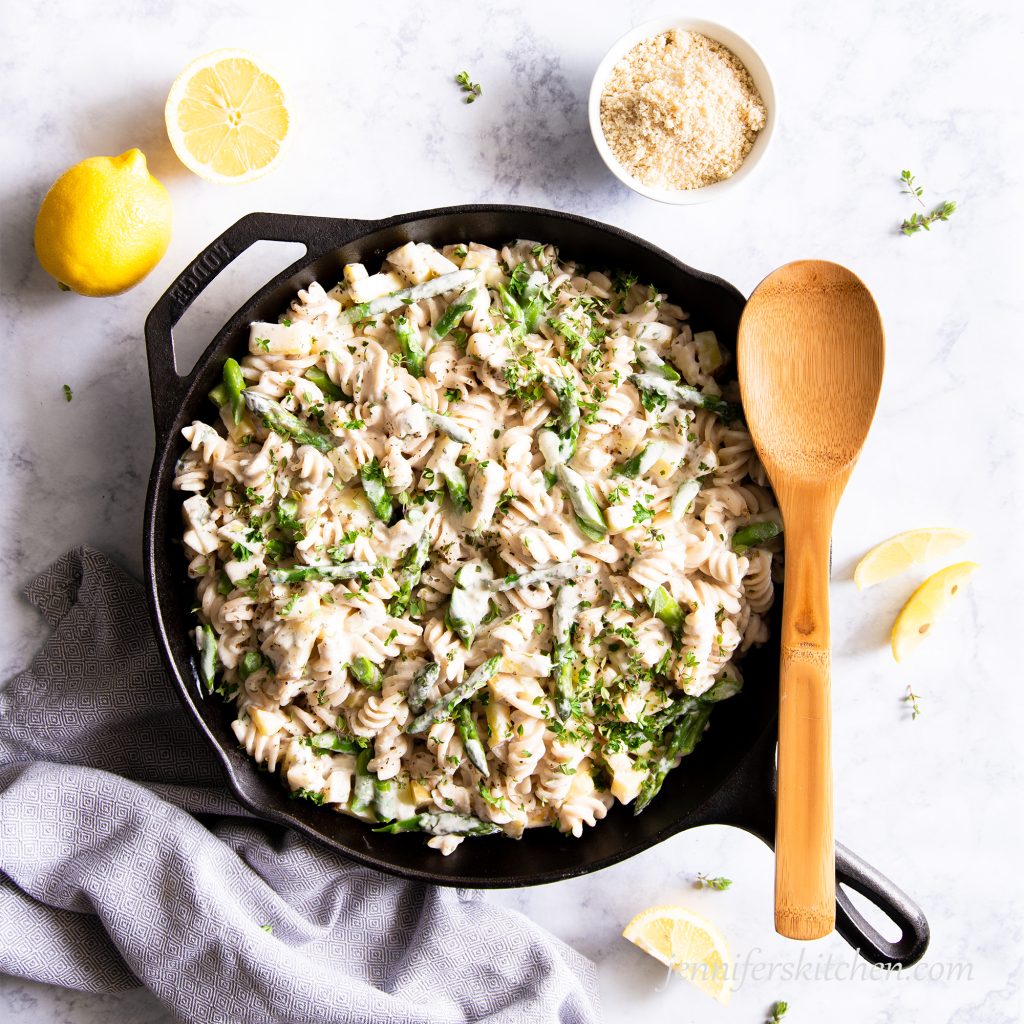
Creamy Asparagus, Pasta, and Potatoes
Guiltfree carb indulge! This creamy potato, asparagus, and pasta dish is so satisfying and so good-for-you! Whether you’re looking for comfort food or just want a delicious and hearty meal, this mouthwatering dish is sure to become a new favorite….
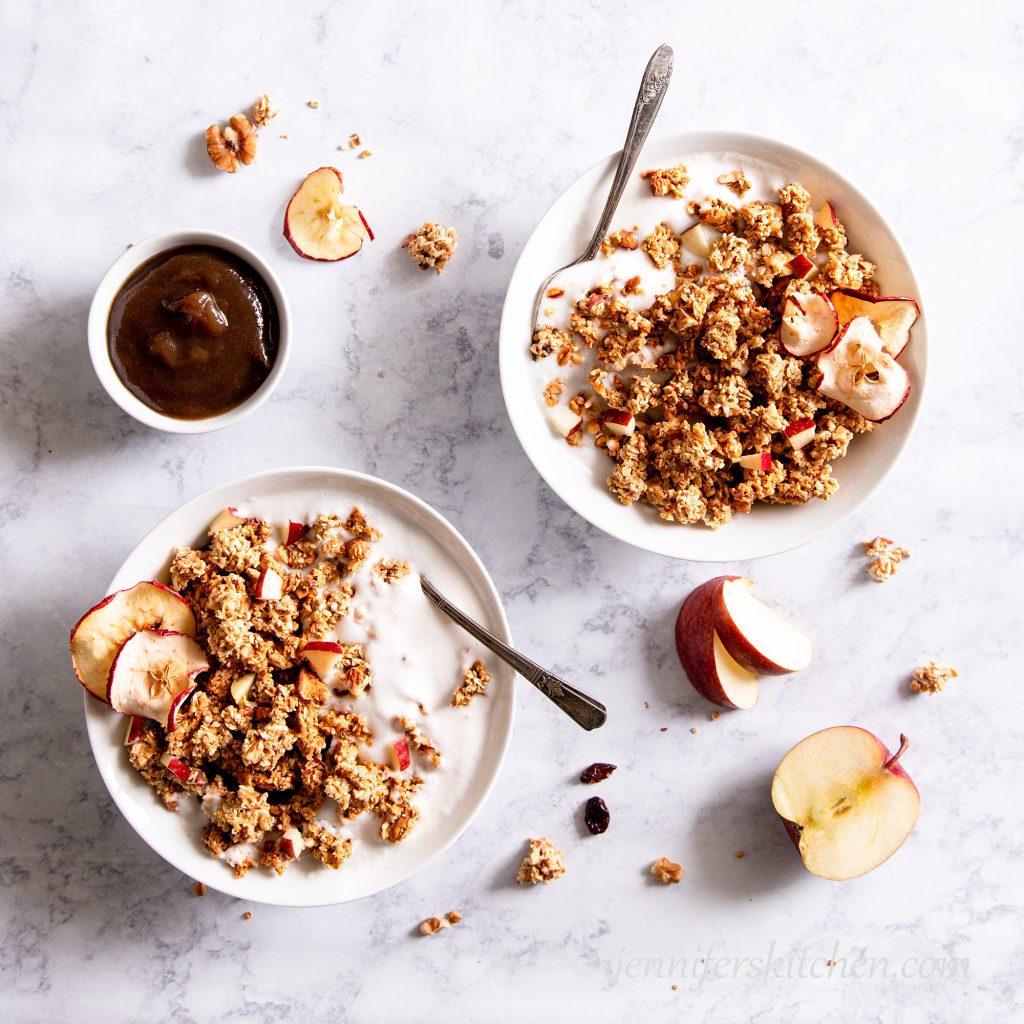
Sugar-Free, Oil-Free, Apple Buckwheat Granola
Most granola -> Full of sugar and spice and nothing nice (for health). Contrary to popular belief, granola is not a health food as it is usually loaded with unhealthy fats and sugar (or other sweeteners). You may as well…
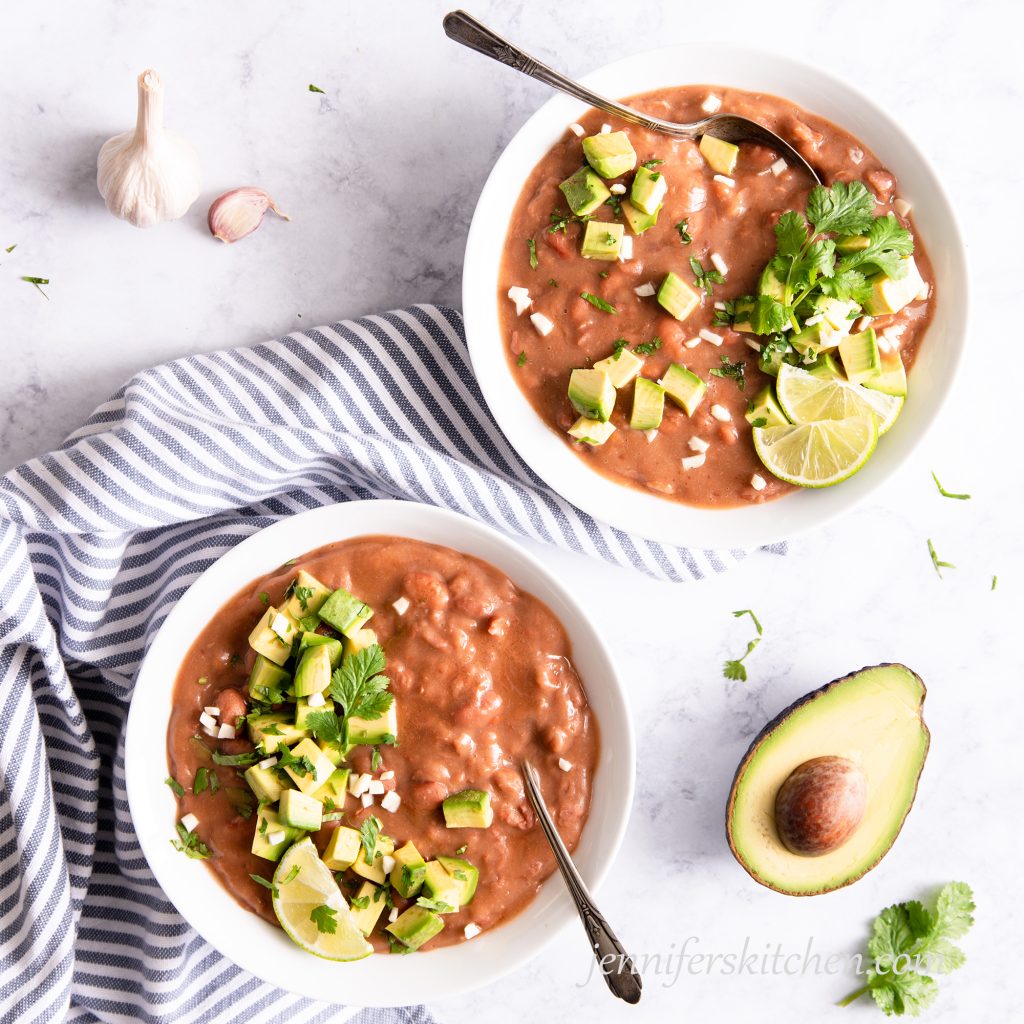
Creamy Crock-Pot Pinto Beans
Without a doubt, my most often commented-on dish is my Creamy Crock Pot Pinto Beans.
“WHAT is your SECRET to such creamy and delicious beans!?!?”
Get Healthy
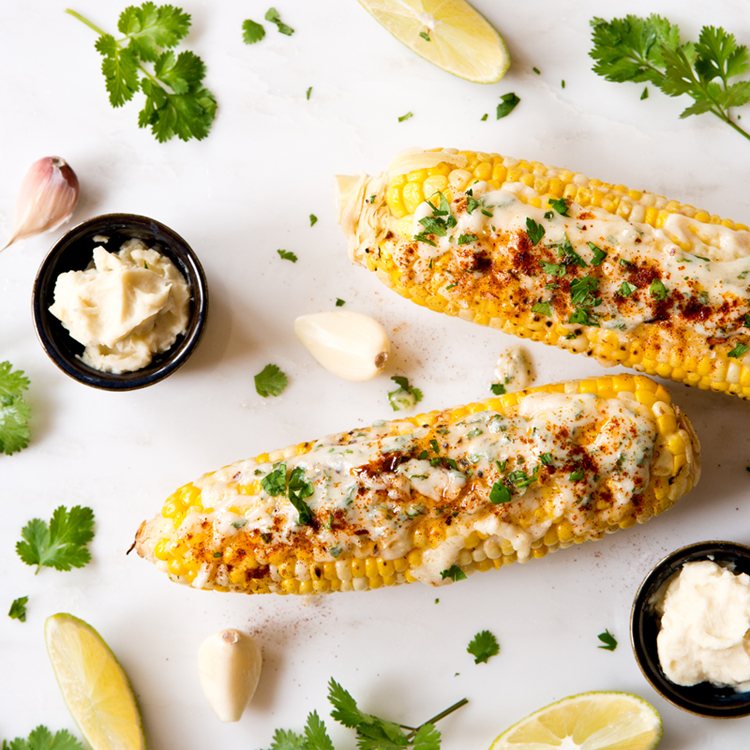
Is Non-Organic Corn Safe to Eat?
Most corn grown in the U.S. is grown from genetically-engineered seeds, and there is significant concern about the safety of these genetically-modified foods (GMO foods).
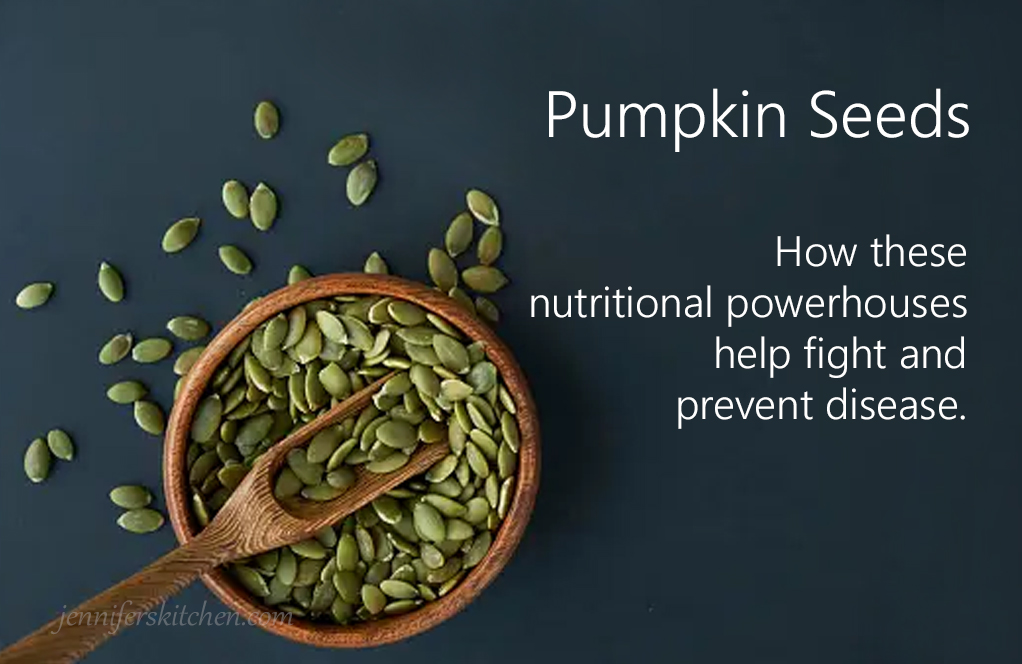
Health Benefits of Pumpkin Seeds
Pumpkin seeds, also known as pepitas, can add crunch to salads, granola, or hot cereal. Or they can be blended into a delicious creamy salad dressing or dip. But these pretty seeds offer more than yummy flavor. Health Benefits Pumpkin…

Reversing Heart Disease
Anna had just celebrated her 53rd birthday, but she didn’t feel much like celebrating. Six months previous, Anna began having chest pain. Her doctor ordered some tests and diagnosed Anna with heart disease. Determining that she was too young to…
Cooking Tips

Which Type of Potato to Use
Choosing the right potato for your dish can mean the difference between fluffy mashed potatoes or gluey mashed potatoes. It can mean the difference between crispy fries or mushy fries.
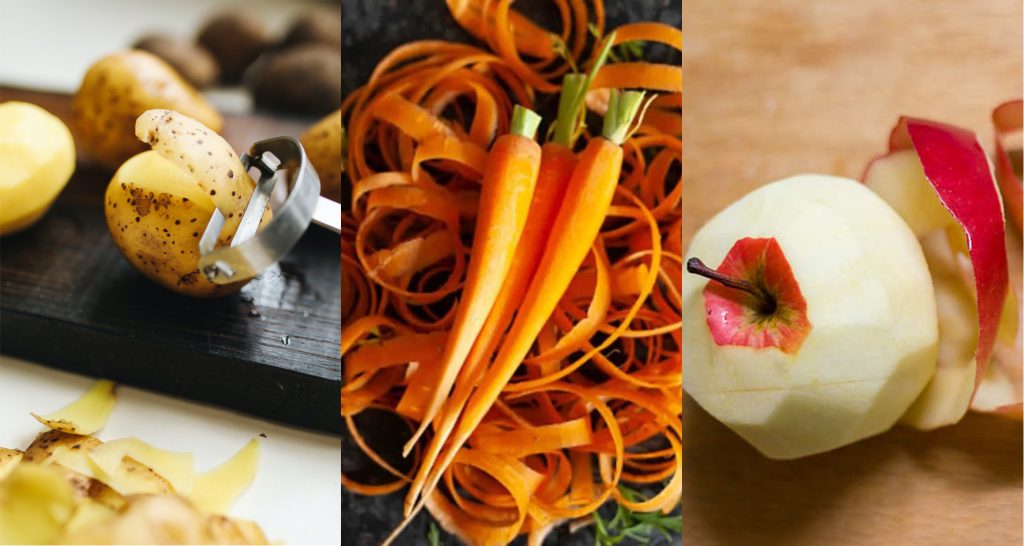
To Peel or Not to Peel?
Fruits and vegetables are loaded with nutrients and usually the peels have the highest concentration of these nutrients. That’s one good reason not to peel. But I have another reason why I don’t peel some of my fruits…
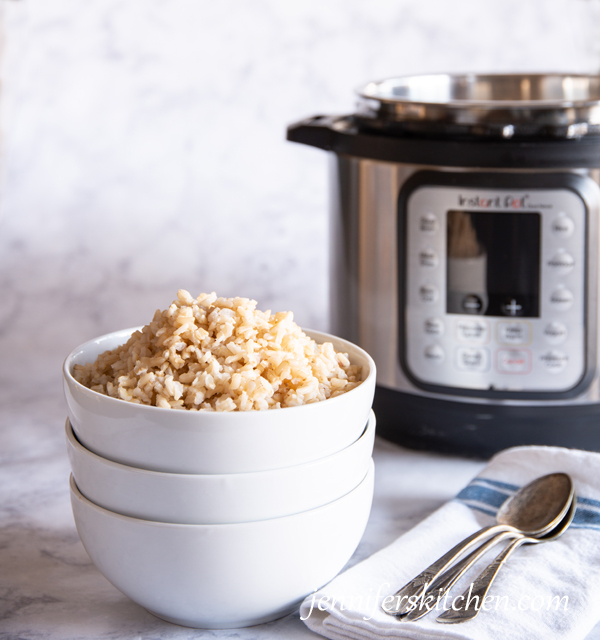
How to Cook Brown Rice in an Instant Pot
Instant Pot rice is an easy, foolproof, incredibly convenient, hands-off method of cooking rice.
Delicious Dressings
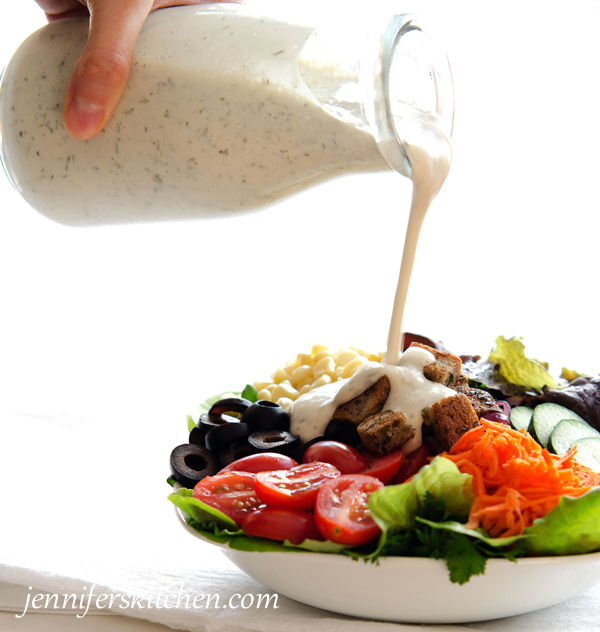
Creamy Cashew Salad Dressing (Vegan)
Dear Reader, I would like you to meet Mr. Cashew E. Dressing. He’s a super great guy and I know you are going to absolutely love him! What does the E in his name stand for? Easy. That’s his middle…
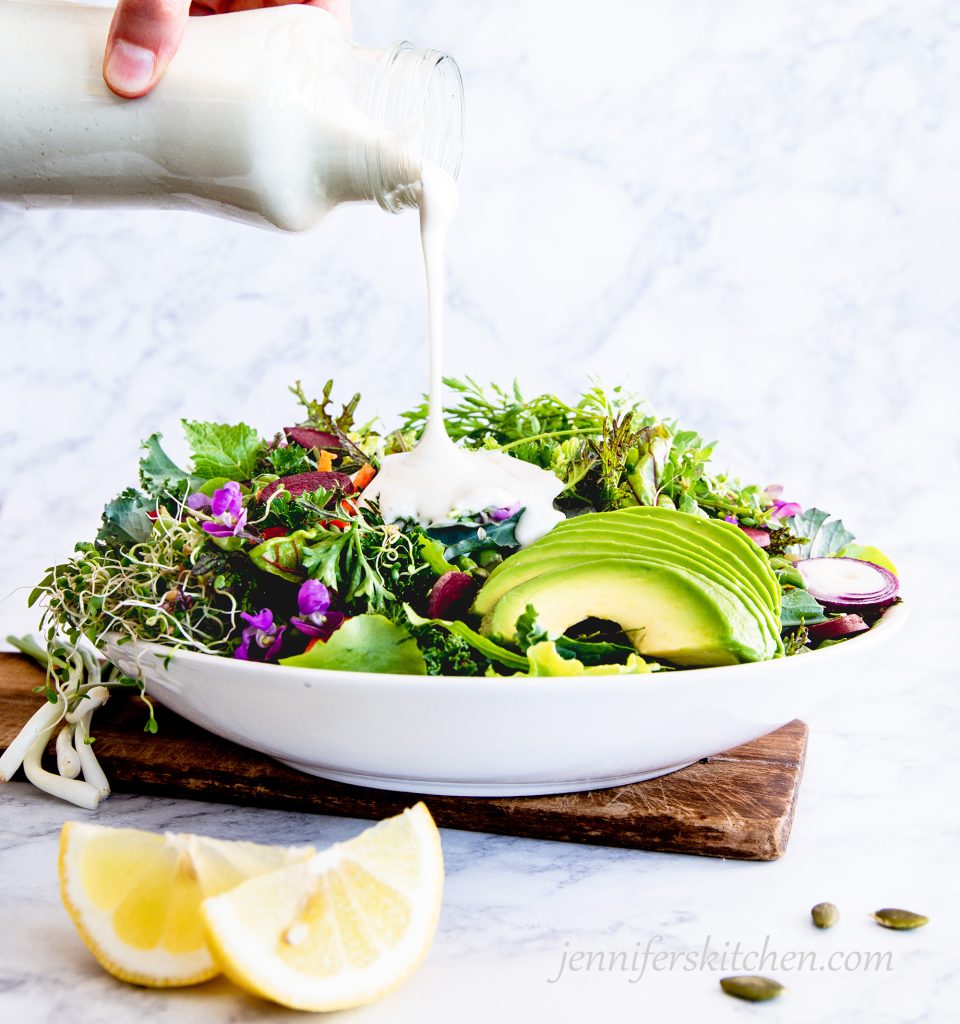
6 Healthy Salad Dressings for Easy Weight Loss
Salads can be a great help for your weight loss plan; but what do you do if you don’t like salad? Well, my solution is to drown that salad in a delicious salad dressing.
But, doesn’t that kind of negate all the healthy benefits of eating a salad? Not with the right kind of dressing!
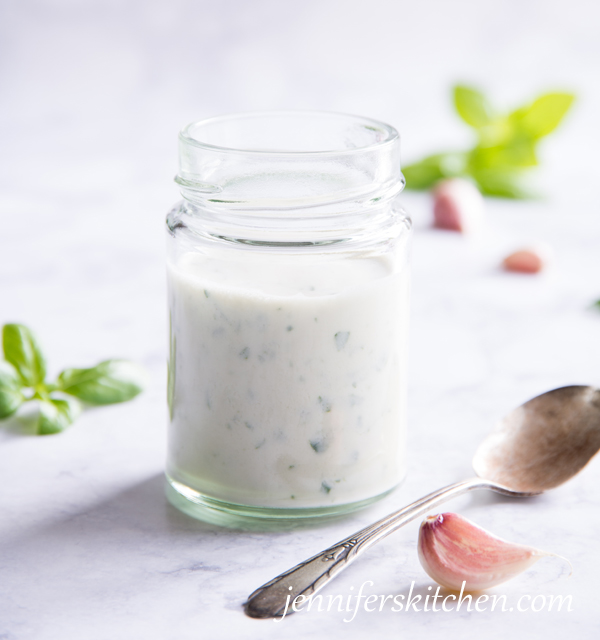
Creamy Fresh Basil Salad Dressing
The Ben and Jerry’s of salad dressings.
Creamy, bright, and wonderfully delicious with little bursts of amazing flavor. You may find yourself eating it right out of the jar.
No-Cook Recipes
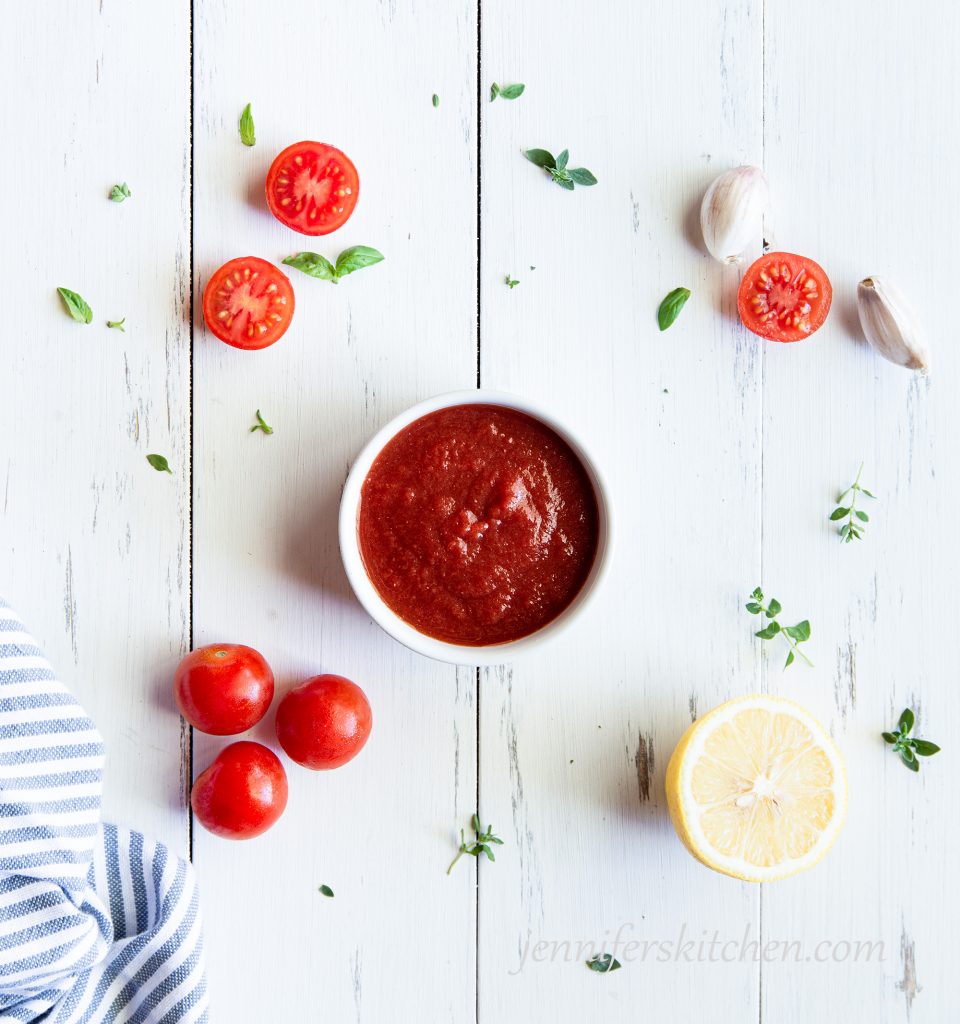
Homemade, Vinegar-Free Ketchup
Have you ever checked the label on the ketchup bottle you get from the grocery store?

The Ultimate Fresh Veggie Wrap
Made with healthy, whole-food, plant-based ingredients and filled with fresh veggies and delicious spreads and sauces, this wrap is both healthy and delicious.
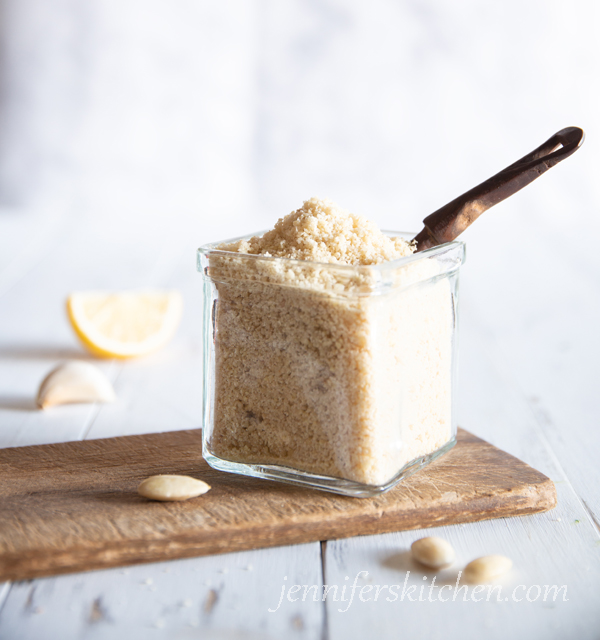
Vegan Parmesan Cheese (Nutritional Yeast-Free)
You’ll only need six ingredients for this delicious, plant-based, gluten-free, dairy-free cheese, and it’s soooo quick and easy to make. 5 minutes and you’re done!
Bountiful Breakfasts
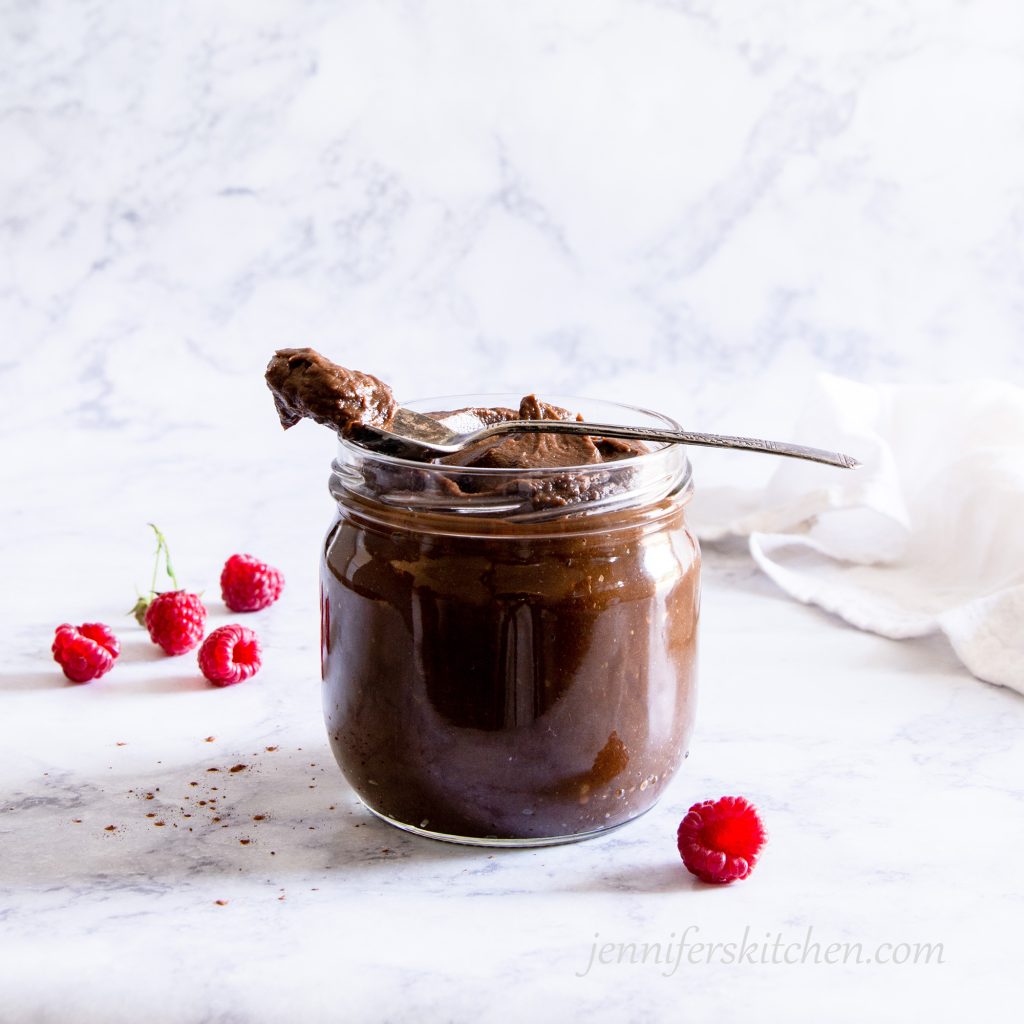
Carob Avocado Sauce or Spread
An incredibly healthy alternative to chocolate sauce, this creamy and luscious Carob Avocado Spread is chock full of beneficial nutrients, like calcium and fiber, and it is sugar-free! Carob Avocado Sauce makes a delicious topping for waffles, pancakes, and toast or a great dip for fruit.
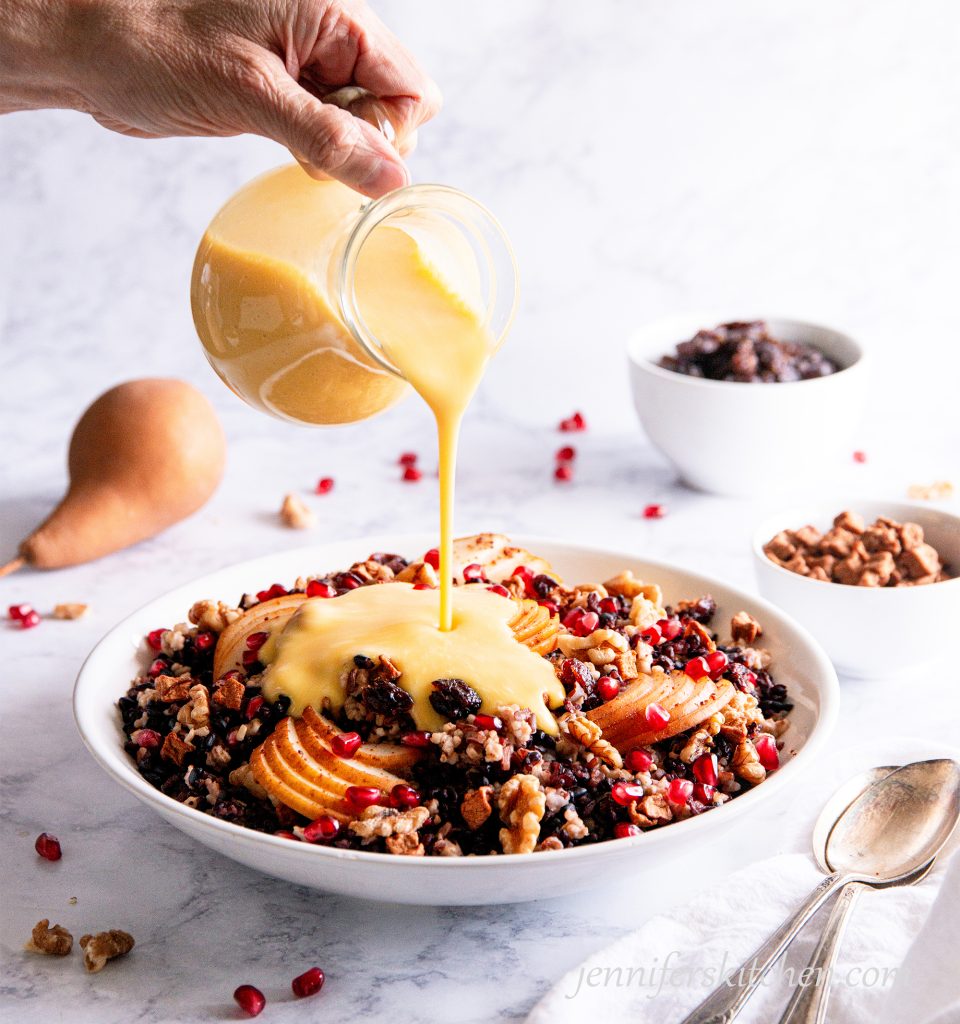
Warm Breakfast Grain Salad
Whole grains are good for the gut! One of the greatest benefits of eating whole grains is that they feed the good bacteria in our gut and increase their abundance. Feeding these good gut microbes contributes to a strong
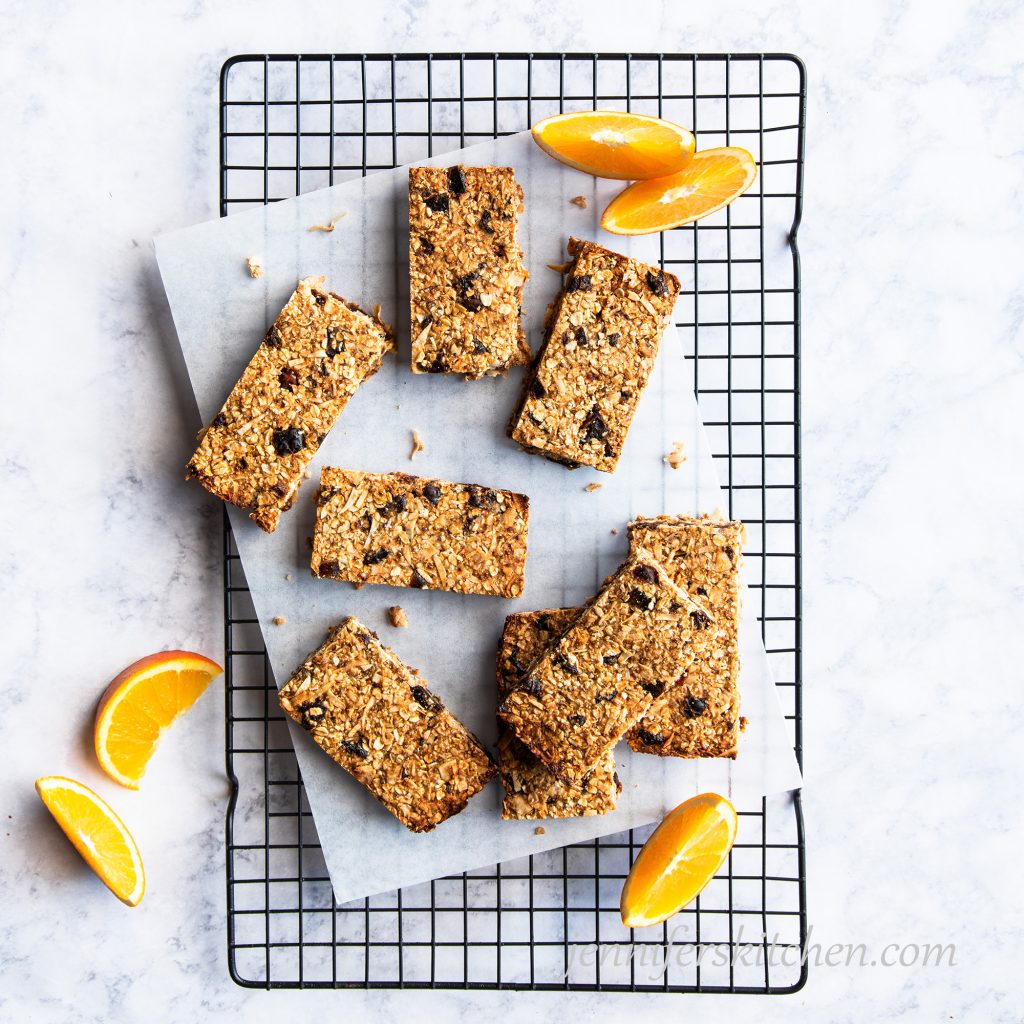
Coconut Orange Breakfast Bars
One thing I do not do: Spend more than 10 minutes in the morning preparing breakfast. When it’s breakfast time, I want to eat – not measure, stir, cook, chop, or bake. That means that make-ahead breakfasts are a regular…
Vegan Dinner Ideas
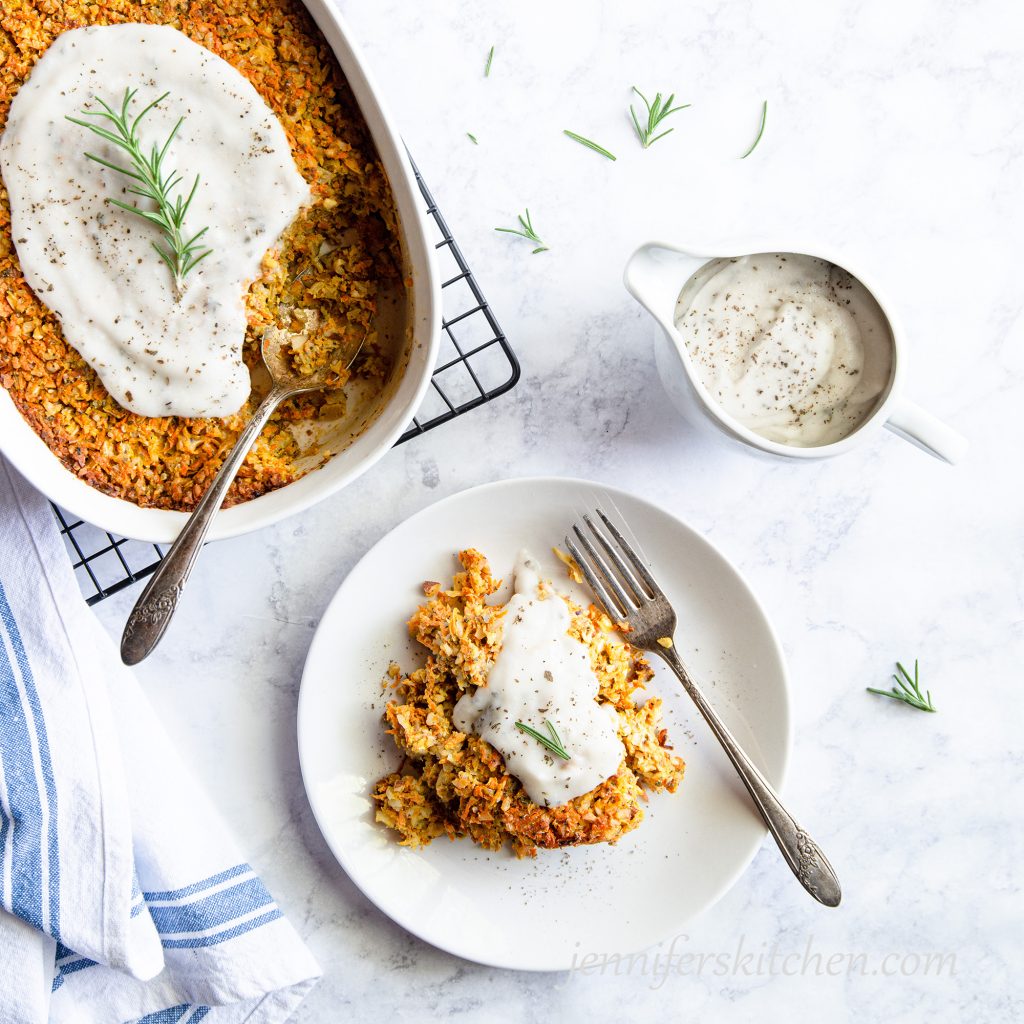
Carrot Almond Casserole
How great is it when healthy food is also easy to make? And when it’s gluten-free too? And when it’s also vegan? And when it can be made ahead of time (and freezes well)? And when leftovers are…
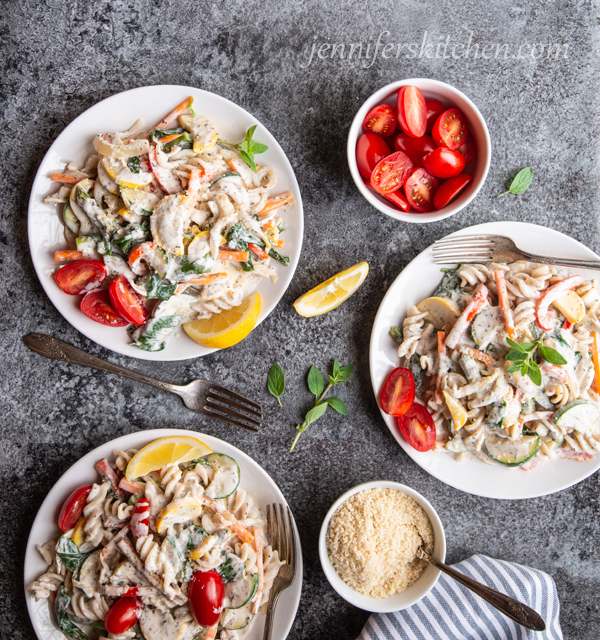
Plant-Powered Pasta Primavera
This luscious Pasta Primavera is a beautiful combination of bright and colorful vegetables, creamy sauce, and tender pasta. Just one bite and you’ll forget you’re eating something healthy!
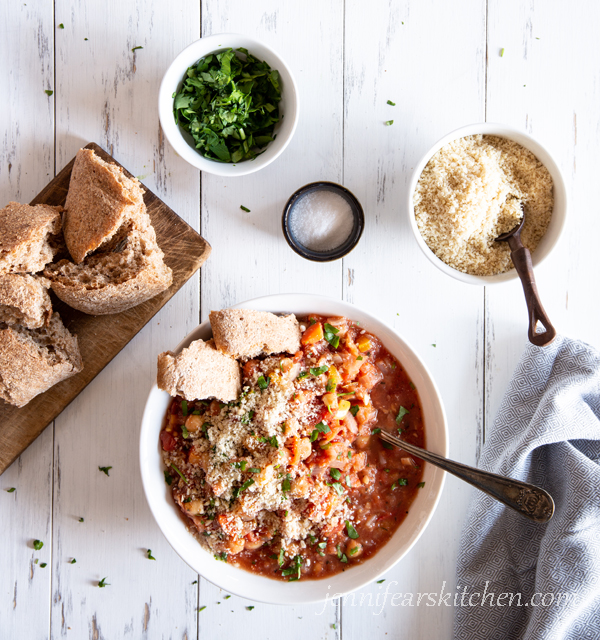
Chickpeas Italiano
A savory and full-of-flavor Italian stew. Delicious served over brown rice or crusty bread.
Salad Recipes
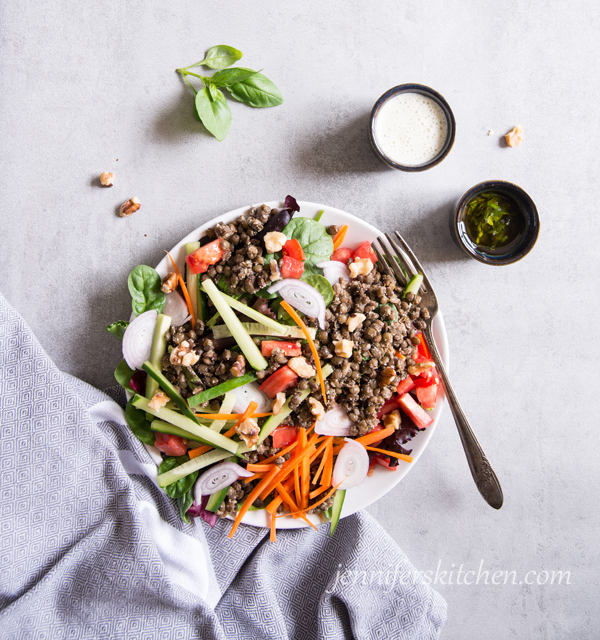
French Lentil Salad
If lentils haven’t been in your regular meal rotation, this tasty French lentil salad will convince you otherwise.
Simple to make. Super flavorful. Light and yet satisfying.
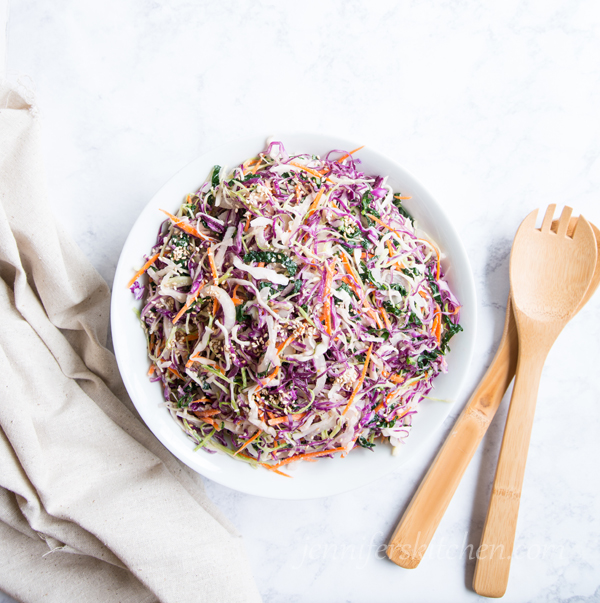
Lemon Tahini Cabbage Slaw
With its gorgeous colors, amazing crunch, and fresh taste, this Lemon Tahini Cabbage Slaw is perfect for a healthy picnic, packed lunch, or just about any meal.

Mazidra
The Salad that Isn’t a Salad – Salad and I did not get off to a good start. In fact, we still have our issues. No offense, but a pile of lettuce with some plastic-y tomatoes and carrot curls just doesn’t do much for me….