How to Make Pear Sauce (Sugar-Free)
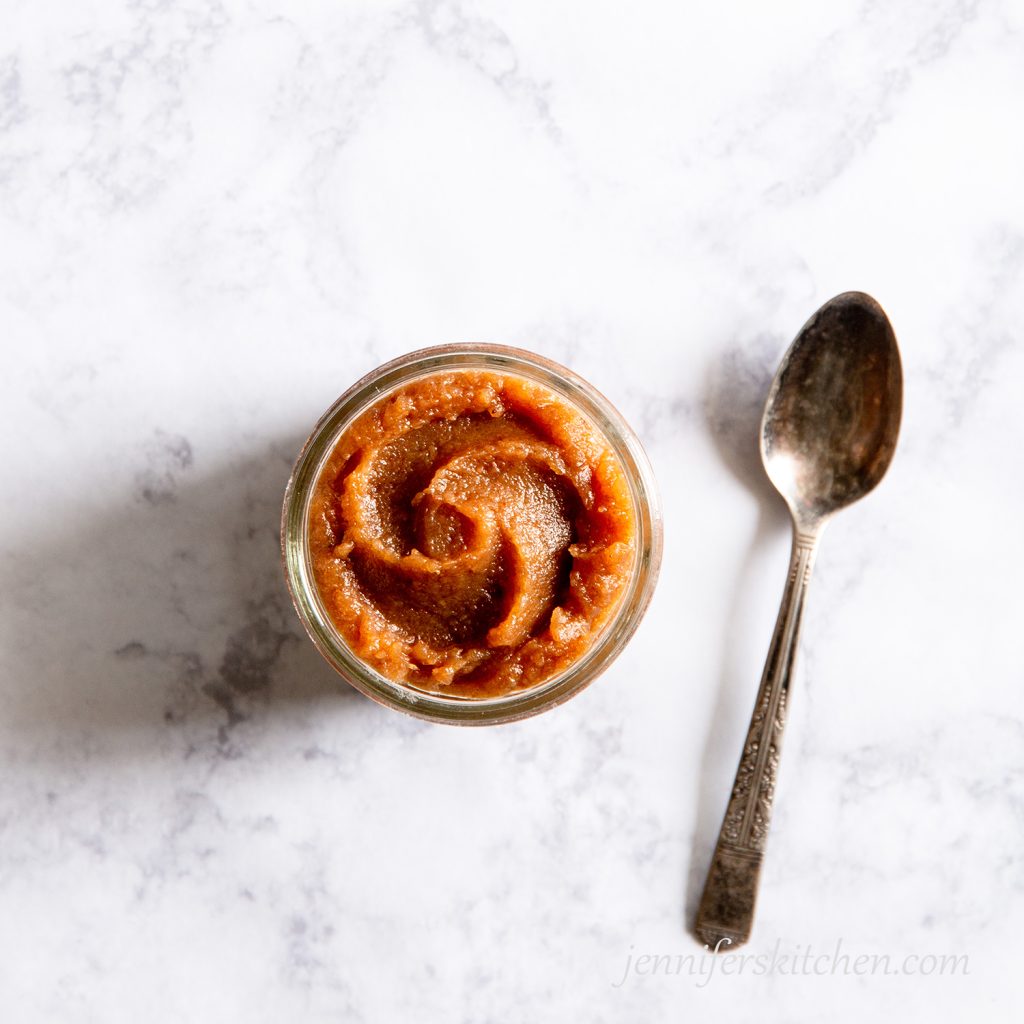
Step-by-step guide for how to make delicious, sweet, sugar-free, nutritious pear sauce with this easy pear sauce recipe.
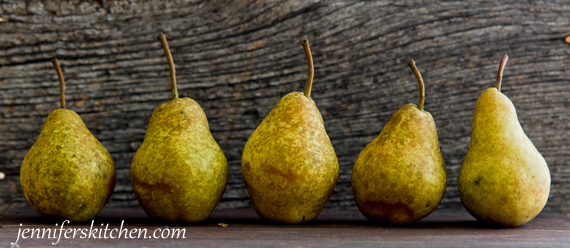
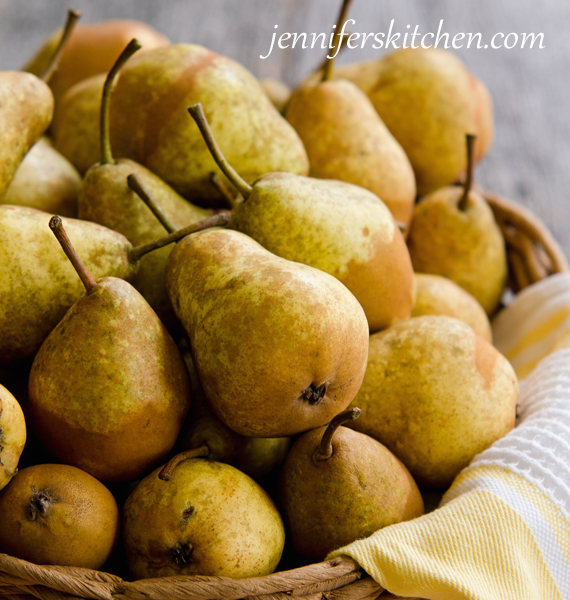
Some dear friends invited us to come and pick pears from their pear tree last week. She said they had an abundance, so I thought we might get a basket or two, but we ended up with about 4 bushels! Four beautiful bushels!
Time to make pear sauce!
While a lot of people make applesauce this time of year, I hardly ever hear about pear sauce. But pear sauce is so easy to make and so incredibly delicious, you’re really missing out if you don’t try some!
Here’s How to Make Your Very Own Pear Sauce
This website is brought to you without annoying ads because we can better live healthier lives without the influence of marketing. But running a high-traffic site is expensive. How can you help? If you purchase anything through the affiliate links on my site, your cost is the same, but I receive a small commission. Thank you!
1. First, choose some ripe, sweet pears.
Naturally, the sweeter the pear, the sweeter your pear sauce will be.
2. Next, wash your pears.
Dirt and bugs don’t make very good pear sauce. But you knew that, right?
3. Begin heating a little bit of water or orange juice in a very large pan over medium heat.
You’ll need about 1/4 cup for just a few pears or 1/2 cup for 12 to 36 cups of pears quarters. If you’re doing more than 36 cups of pears, you’re probably going to need an additional pan, so you’ll want another 1/2 cup of juice in the second pan too.
You don’t need much liquid, and the exact amount you need will depend on how juicy your pears are and how quickly they release their own juices. Try not to use more liquid than needed, because it’ll dilute your delicious pear flavor.
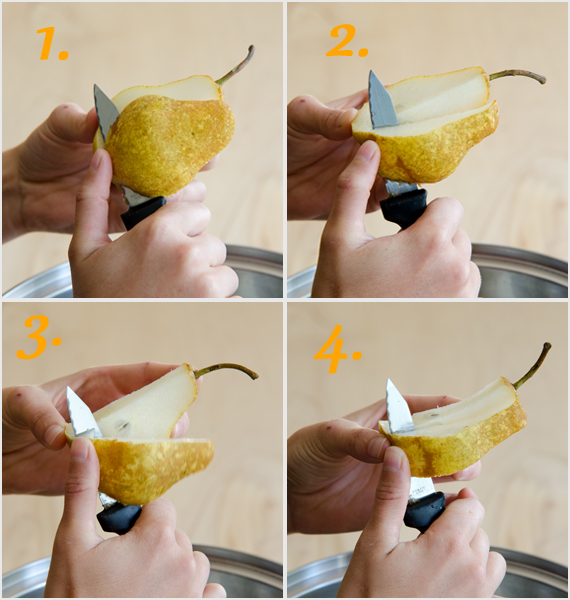
4. Cut pears off the core.
Many people use an apple corer to cut out the core, or they cut the pear into halves and then remove the core with a paring knife or a melon baller, but I’ve found the fastest way for me is to just use a knife to cut the pear off the core while holding the pear in my hand over top of the pan. I can prepare the pears almost twice as fast this way.
NOTE: There is no need to peel the pears! This pear sauce is made with the skins on (they get all blended up) and is actually richer and creamier this way.
Some people use a food mill to make pear sauce, but we like this method better because, once again, the result is a richer and creamier sauce and the fiber content is higher with the skins (which is great for weight loss).
5. Add pears to hot liquid.
If you aren’t using the touch-it-once method above, add your pears to the hot liquid. If your pears are already in the pan, go to step #6 🙂
6. Stir often to prevent pears from scorching on the bottom of the pan.
The pears should quickly start making their own juice. If your pears are drier than usual, reducing the heat and stirring often is usually a better option than adding more liquid so as to not dilute the pear flavor.
7. Bring pears to boil.
Don’t cover your pan – for the best flavor, you want as much extra liquid as possible to evaporate.
8. Reduce heat and simmer.
Simmer for 10 to 30 minutes. If you’re making a very, very small batch, simmer time can be as little as 10 minutes. But a large batch usually takes about 30 minutes.
9. Remove from heat.
When pears are cooked, remove from heat. Allow to cool slightly.
10. Using a large slotted spoon, transfer pears to a blender jar.
Be sure to drain the pears well with the spoon so your sauce won’t be too thin.
NOTE: You can wait for your pears to cool before you blend them, but they’ll be easier to blend and your pear sauce will be thicker if you blend the pears while still very warm. However, be sure to use caution when blending hot foods in a blender. (Read this post for more information about blending hot ingredients in a blender.)
11. Blend until very smooth.
Blend very, very well.
A high-power blender is helpful (maybe essential) for getting the pear sauce silky-smooth. If you don’t have a heavy-duty blender, be sure to blend the sauce for a long time to get rid of all traces of pear skin.
You’re done!
Preserving Your Pear Sauce
We’ve been enjoying freshly-made sauce, but we also canned some for the winter.
One of the best things about preserving pears by making them into sauce instead of regular canned pears means you use a lot less sugar (like zero) and a lot less time (you don’t have to peel the pears when making pear sauce if you have a good blender).
I make canned pear sauce in the same way as I do applesauce, except I add 2 teaspoons of lemon juice for each quart of sauce. This is to increase the acidity since apples are more acidic than pears.
How do you can pear sauce?
I have step-by-step instructions for canning pear sauce or apple sauce for you here.
The book, Preserving Summer’s Bounty: A Quick and Easy Guide to Freezing, Canning, and Preserving, and Drying What You Grow, is also an excellent resource for comprehensive instructions on how to preserve every thing from asparagus to strawberries to zucchini.
How Many Pears Equals How Many Quarts of Sauce?
Four pounds of fresh pears will yield approximately 1 quart of pear sauce.
There are about 2 to 3 large pears in a pound, 3 to 4 medium pears to a pound, and about 4 to 5 very small pears in a pound.
One bushel of pears weighs about 55 pounds.
How to Eat Pear Sauce
You can enjoy pear sauce any way that you would applesauce.
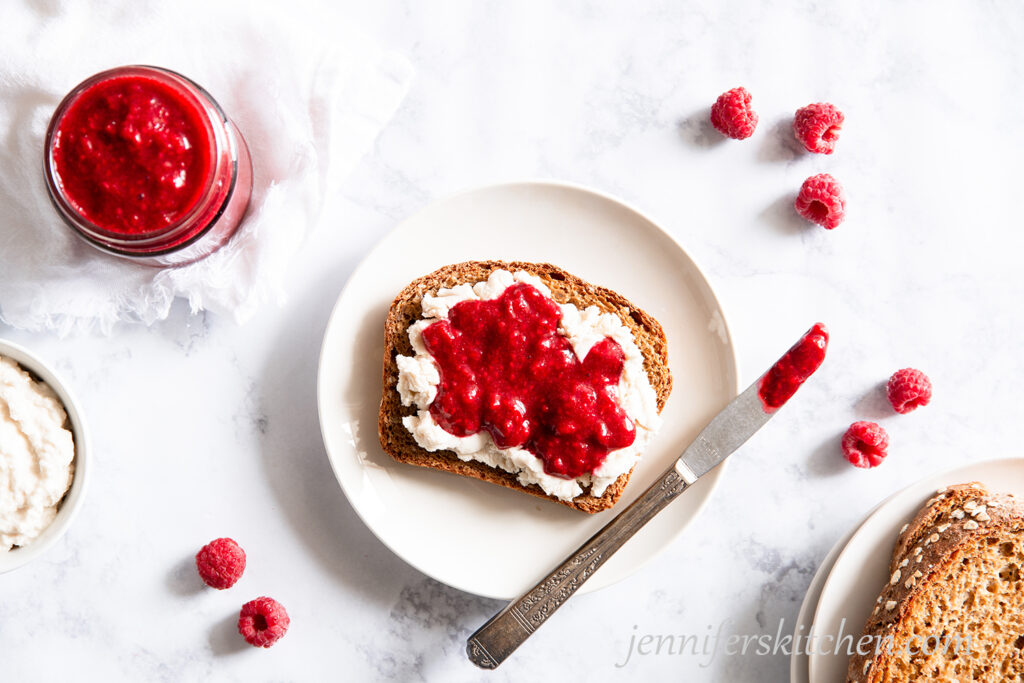
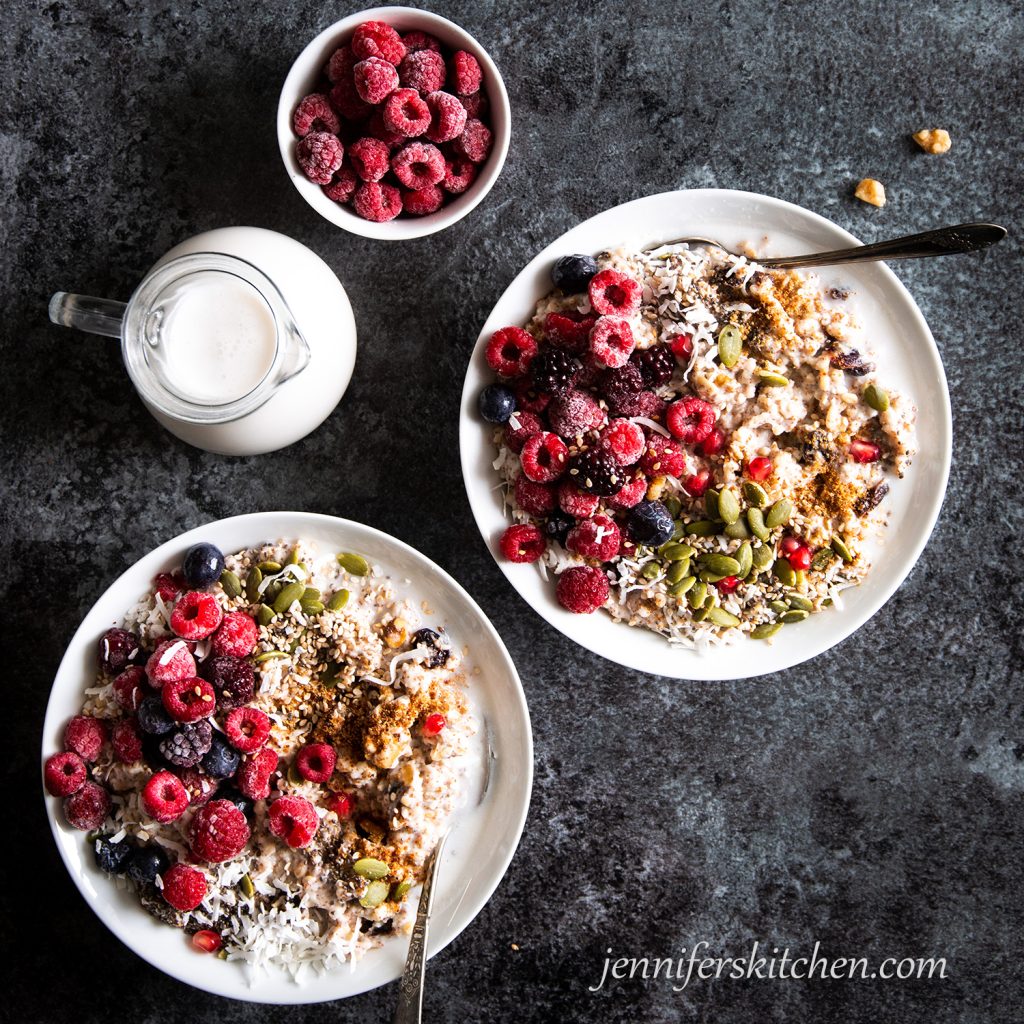
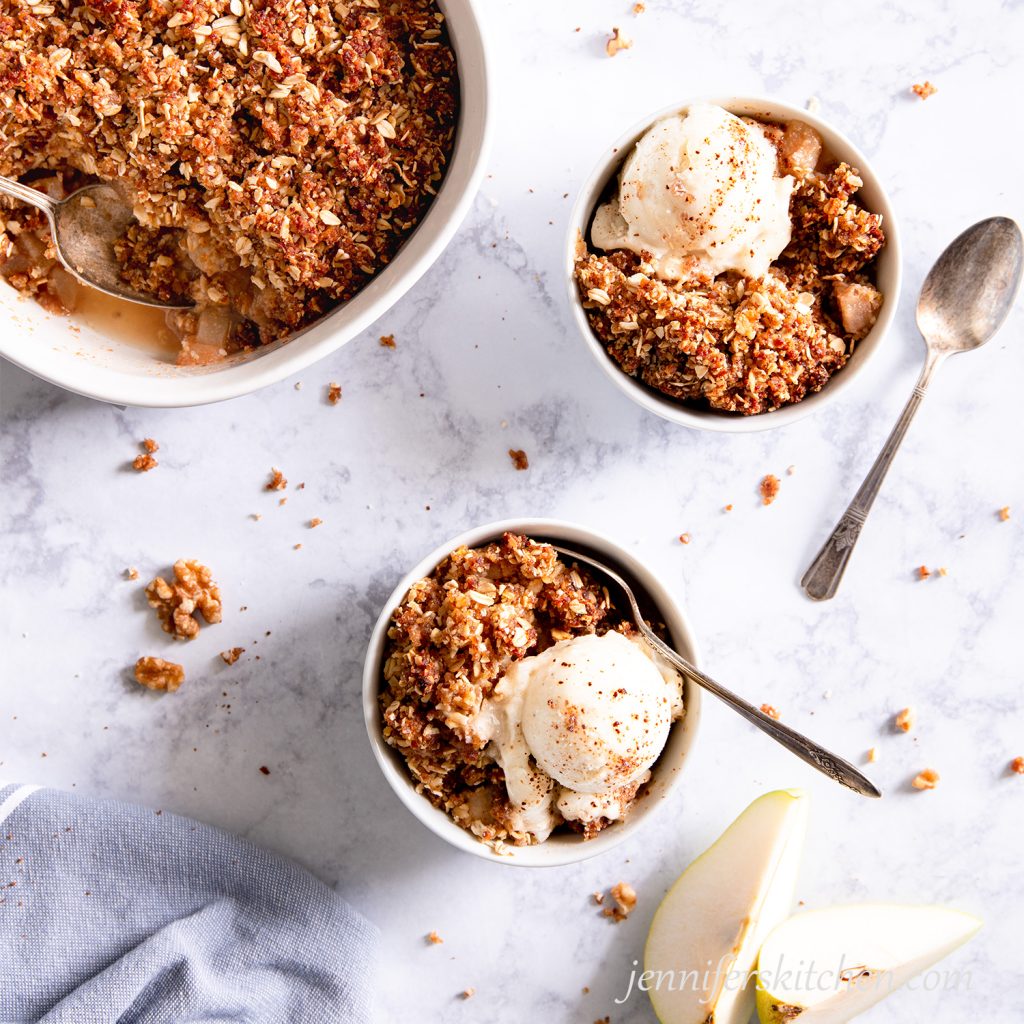
We think it’s great over waffles or toast with almond butter. Pear sauce can also add some natural sweetness to your oatmeal. Or how about a bowlful of granola mixed with pear sauce and then topped with blueberries. And of course you can use pear sauce to replace some or all of the oil in cake, cookie, or muffin recipes. I’ve also heard warm pear sauce is fabulous over ice cream, but I’ve never tried it that way.
Or you can just eat a big bowl of it!
Sugar-Free Recipes
Here are some more delicious sugar-free recipes.
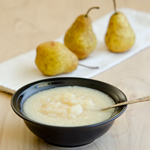
Sugar-Free Pear Sauce
Ingredients
- 12 cups fresh pear quarters
- 1/2 cup orange juice
Instructions
- Place orange juice into a large pan and begin heating.
- Wash pears and cut into quarters. Add quarters to hot orange juice and bring to boil.
- Cook at a very low boil for 30 minutes, stirring often (especially at the beginning) to prevent scorching.
- Using a large slotted spoon, transfer pears to blender (draining them well). (A heavy duty blender works best for this recipe; other blenders may not get the pear sauce smooth enough.)
- Blend until very smooth. Makes approximately 1 1/2 quarts of sauce.
>> One quick request: if you like this recipe, please leave a rating and a comment. Ratings help more people find these healthy recipes!
Want More?
For more healthy and delicious recipes like this one that will simplify your journey to a healthier and thinner you, check out my
You my also like:
Before you go . . .
Did you know that you can eat all this delicious food AND lose weight? You can!
No calorie counting. No portion sizes.
Join my online weight loss program today!



I really look forward to trying out this recipe. Thank you for such pretty and clear instructions.
You’re welcome, Michele. I’m glad it was helpful.
Jennifer, can steps #7 and #8 be replaced by using a crock pot instead of cooking on the stove? If so, how long would you suggest? Thanks!
Hi Faith,
I’ve never tried making this in a crock pot and my first thoughts are that the pears would probably turn brown because they wouldn’t come to a boil fast enough. I suppose you could bring it to boil on the stove and then simmer in the slow cooker, but maybe that would defeat the purpose?
Thanks for your response, Jennifer. You’re right about it turning brown, but we like it that way. I actually put it on the slow cooker for 10 to 12 hours and then bring to a slow boil on the stove for 5 to 10 minutes before putting in jars for canning. Thanks again!
Hi, it’s lovely to see such an easy recipe. Could you tell me please, how long will the sauce last for? I’m hoping to use up conference pears from our garden into sauce for Christmas presents. Can I preserve the jars by sealing and boiling? Also, is this a suitable sauce to accompany meat?
Many Thanks.
Hi Carrie-Ann,
This pear sauce should last about one week in the frig. There’s a link in the post for instructions for canning the sauce so you could preserve it for longer. We just canned a couple batches this week and look forward to enjoying it when the snow starts falling. 🙂
I haven’t eaten meat for several years, so I’m not really sure how it would go with meat.
Jennifer
Thank you for your quick response. I don’t have a canner or a pot deep enough to submerge the jars so I think I’ll freeze them to be safe. I’m not sure if you serve apple sauce with roast dinners (like pork) in the US, like you do here in the UK, but wondered if pear sauce would make a suitable substitute for savoury dishes. Will have a go and find out! Thanks 🙂
After transferring the pears to the blender, can the remaining orange juice liquid be used for something or do we just discard it?
Thank you very much for this great recipe.
We often use the leftover juice in my recipe for overnight cereal. Just replace some of the water with the juice. It give the cereal a delicious flavor.
I made this pear sauce today! It is very good and even my husband liked it without sugar!
That’s so good to hear, Jan! Thank you for your comment. I’m looking forward to pear season so we can make more pear sauce. 🙂
I made this last year, it was wonderful! I made some a little thinner so I could spoon it on cake and or ice cream. I served it that way for company. They loved it too and wanted the recipe for the pear sauce. One of the perks is you don’t have to frost the cake. I’m doubling the batch this year, my trees are loaded. Thank you for the recipe.
Aw, that makes me happy! Thank you for your comment, Mary.
Would a food processor work as well or better than a blender?
Hi Melody,
Sorry for the delay in responding. Somehow I missed this comment.
I recommend using a blender. Pear sauce is thin and would probably leak out of the food processor.
Jennifer
The pear harvest from my one pear tree was really abundant this year. So this recipe was perfect for me to try. I made it with water instead of orange juice and I added cinnamon to it. It was absolutely delicious. I love the simplicity of not having to peel the pears. I put the sauce over waffles this morning with a few raspberries on the side. Yum!
I LOVE pear sauce over waffles! Mmmmmm!
So glad you enjoyed the recipe, Pat. Thank you for your comment. 🙂
And I thank you for posting the simple recipe.?
Love your method for making pear and apple sauce, Jennifer. So creamy and yummy. It’s our new favorite.
I went to the canning instructions page and discovered that there’s a new link to the comprehensive “Boiling Water Bath Canning” guide: canning guide
Many Thanks for all the important information and great simple recipes you put together for us.
Hi Dori,
Thank you for that info! I’ll adjust the post.
So happy you like the sauce. Thank you for your comment and rating.