
How to Start Seeds for Your Garden
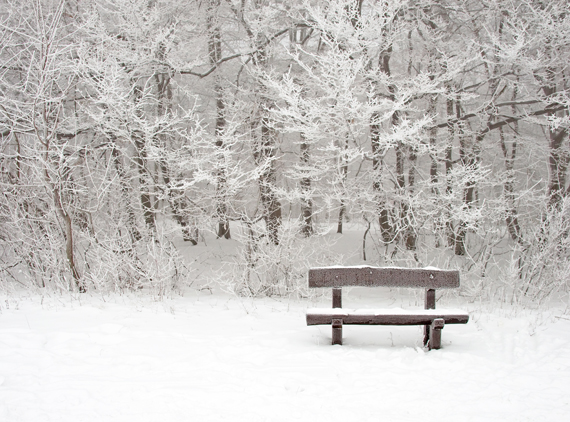
Spring is here. Well, it’s supposed to be anyway. Someone forgot to tell winter.
Regardless, I have faith that spring will show its pretty head eventually, so I’m working on getting seeds started indoors so I can have some baby plants to put in the garden when the snow finally does melt.
This website is brought to you without annoying ads because we can better live healthier lives without the influence of marketing. But running a high-traffic site is expensive. How can you help? If you purchase anything through the affiliate links on my site, your cost is the same, but I receive a small commission. Thank you!
Why Grow Your Own Seedlings from Seed?
You get a much bigger selection. Think Atomic Grape Tomatoes instead of plain-old Big Boy.
Dragon’s Egg Cucumber and Wrinkled, Crinkled, Crumpled Cress (where do they come up with these names?) rather than Green Leaf.
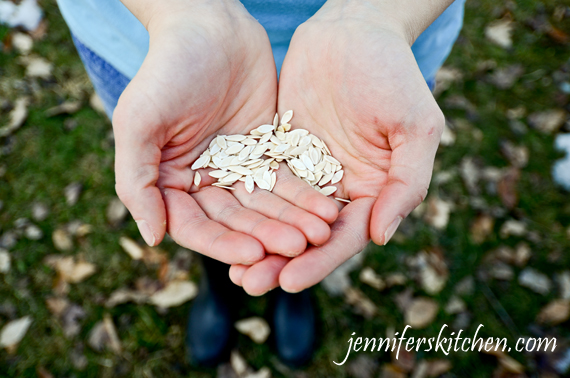
It’s also easier to find non-hybrid seeds than non-hybrid plants, and I like to use open-pollinated seeds, because, well… hybrid seeds just don’t make sense to me. And sometimes I like to take a little bowl out by my kale plants that have gone to seed and gather the promise of next year’s bounty. You probably know this doesn’t work with hybrid seeds.
And starting your own seedlings is also less expensive.

How to Start your Own Seeds
1. Start seeds that are supposed to be started indoors.
Some plants, like radishes, carrots, potatoes, and beets are best direct-sown.
What seeds should you start indoors? Here are is a list of the best and easiest options for seeds to start inside:
Broccoli
Brussels sprouts
Cabbage
Eggplant
Kale
Okra
Pepper
Tomato
2. Know the right timing.
First you need to know when the cold will quit. You wouldn’t want to put those precious little plants in your garden and then have them get zapped by Mr. Frost. You can find out the last expected frost date for your area at victoriaseeds.com.
But that doesn’t tell you everything you need to know, because some plants – broccoli, for example – can be planted 2 weeks before the last frost date, but peppers need to wait until about 2 weeks after the last frost. So, now you need to know when it will be warm enough to actually put each particular plant outside.
A lot of charts that you find online give you a planting date (as in April 30 or May 15), but what happens if you live in southern Tennessee … or northern Wisconsin? In warmer climates, you can easily start your tomato seeds in December, but if you did that in the north they’d be up to the ceiling before you could get them in the garden. Soooo… I made a When to Plant Garden Chart just for you. This chart allows you to decide when to start your seeds and plant your plants based on YOUR frost free date. That way you know the right time to plant seeds for YOUR area.
3. Choose a container.
Any container with holes in the bottom for drainage will work.
 You can always use peat pots or peat pellet plugs or regular garden nursery flats. If using last year’s seed-starting containers, be sure to disinfect them with a bleach solution or with vinegar before using to prevent plant disease.
Here are some super creative ideas for seed starting containers.
4. Choose your growing medium.
Your seeds will sprout better and be healthier (less disease) if started in a light growing medium, like seed starter mix. Seed starter mix is sold at garden stores, home-improvement stores, and through Amazon.com.
5. Moisten the medium.
Pour a small amount of seed starter mix into a bucket or other container and add water to thoroughly moisten it before adding it to your containers.
6. Fill your little pots with the moistened growing medium.
Fill the containers all the way since the growing medium will settle some.
7. Plant your seeds!
Plant the seeds according to the directions on the package. If there are no directions, a good rule of thumb is to plant seeds to a depth about two to three times the thickness of the seeds.
If you want to, you can plant two seeds per container just in case some don’t germinate.
8. Sprinkle the top of the soil with a light dusting of sphagnum moss.
Adding sphagnum moss to the top of the soil, along with watering from the bottom, will help prevent damping off, which is a fungal disease that will kill your seeds and seedling.
9. Label them.
If you plant more than one kind of seed, use some kind of label to mark what you’ve planted otherwise when they come up you may find yourself saying, “Hmmmm …. Now is this broccoli or cabbage?”
You can make your own plant labels or you can buy cute little wooden labels.
10. Place in a warm location.
The soil temperature for most seeds needs to be around 65° to 75°F for seeds to germinate.
11. Keep moist.
Do not let the soil dry out! But do not overwater. Seedlings should be kept evenly moist, but never wet.
If possible, water your seeds from the bottom.
Do not fertilize!
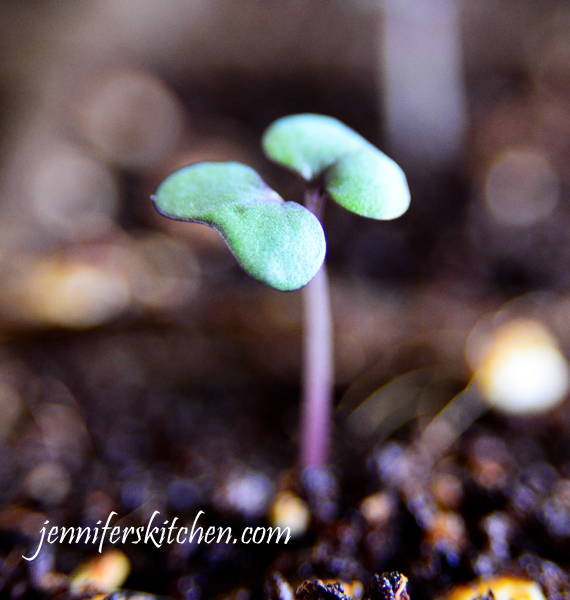
Once the seeds sprout:
12. Place in light.
When seeds begin to sprout, move to a very light, very bright, sunny spot. Seedlings need at least 12 hours of light a day.
Putting them under grow lights in another option.
13. Remove extras.
If more than one seed per pot sprouted, gently remove the extra plant. I know it’s hard, but overcrowding isn’t good for baby plants.
14. Reduce temperature slightly.
Keep seedlings at a temperature of 60° to 70°F during the day and 50° to 60°F at night for optimal plant health. The ideal temperature will vary depending on whether the seedling is a heat-lover or a cool weather plant.
15. Plants need exercise too.
Put a small fan nearby to lightly blow air on your seedlings OR gently brush over the leaves with your hand a few times a day. This movement will make the baby plants grow stronger and help prevent disease.
16. As the plants get bigger, consider their needs.
At first, seeds contain all the nutrient stores in them that they need for germination and growth. However, once the plants get bigger (about 2 to 3 inches tall) and have a few “real” leaves those stores will run out. If your plants aren’t going to be put in the garden right away, you should either feed them using liquid fertilizer or plant them in bigger pots with richer soil – or both.
Some plants, like melons, don’t like their roots disturbed and should be kept in the same container from sowing to garden.
17. Harden Off
If you try to transplant your seedlings from your little indoor nursery straight to the garden, they’ll probably die from shock. Before they go prime time, they need to acclimate. The little plants need to be gradually introduced to the bright sunshine and cooler temps.
When nighttime temperatures reach 50 F, place your plants in a cold frame or in dappled shade – like under a tree – for about 30 minutes the first day, and then gradually (over a period of 10-14 days) increase the amount of time and the amount of sunshine you expose them to until they are able to be outside all day and night.
18. Move them to their permanent home.
Move your plants into their final garden home late in the day when the sun is low and the temperatures have cooled down. This, along with being careful to not disturb the roots, will help avoid transplant shock. Also, be sure to water thoroughly and keep your transplants very moist in the first few days.
Very soon you’ll enjoy the fruits of your labors! 🙂
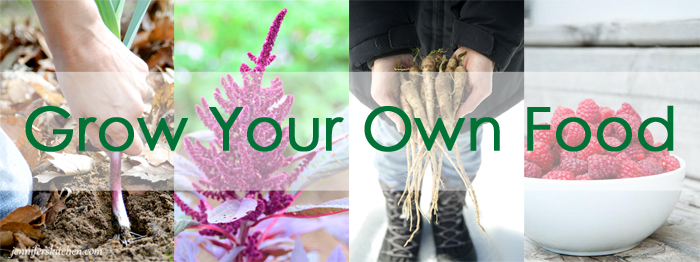
Gardening Resources
Be sure to check out all my other gardening resources.
Popular Posts


You my also like:


Before you go . . .
Did you know that you can eat all this delicious food AND lose weight? You can!
No calorie counting. No portion sizes.
Join my online weight loss program today!

Please consider leaving a star rating and a comment. This helps others discover my recipes. Thank you! 🙂